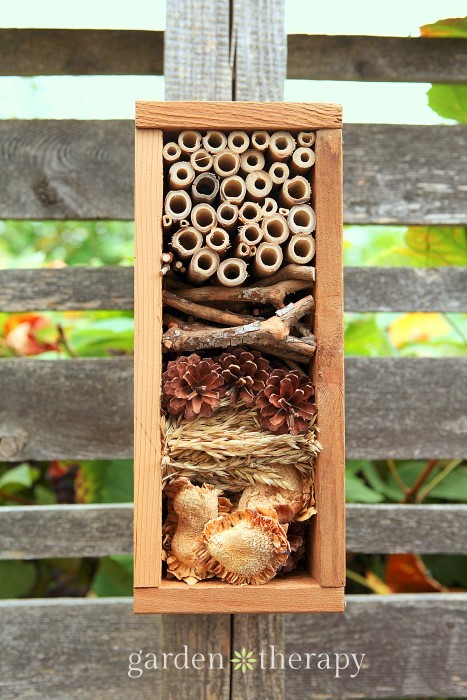
Here is an awesome project for your garden that will not only look beautiful but also serve as a habitat in ALL seasons for our insects friends that allow our gardens to thrive and remain beautiful.
This beautiful bug hotel will create shelter to a wide variety of bugs, including bees, ladybugs, beetles, spiders, lacewings, and other insects. It will provide a safe place for bugs to bring their eggs or larva for winter protection and gestation. The different plant material within the hotel will provide protected areas so that the bugs can find a ‘room’ that suits them the best and allow them to prepare it as they wish.
Here are some examples to how a bug hotel will benefit insects over the winter.
Bees
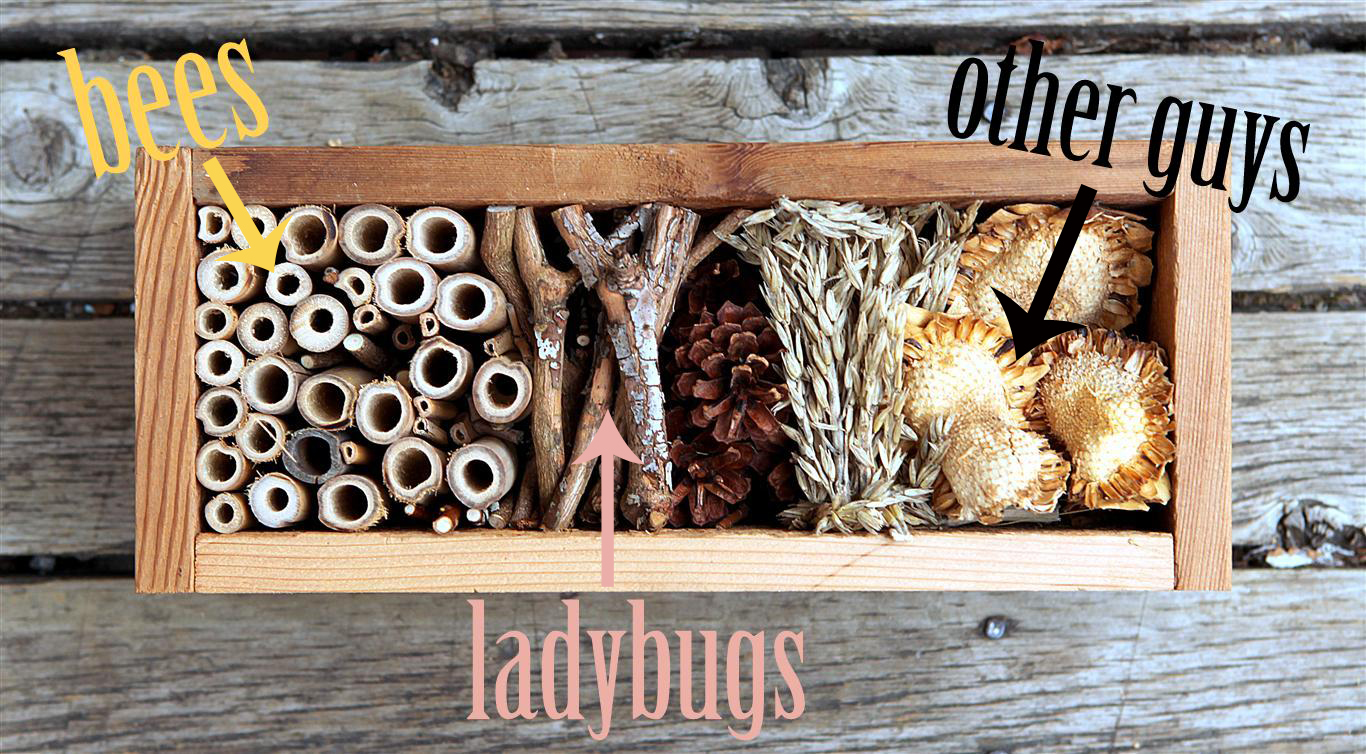
While some bees are ground dwellers who prefer to dig a hole in the soil for winter hibernation. Solitary bees like to nest in hollow stems for the winter. Despite their name, they will often pack a number of bees into a single stem before closing off the opening with mud in order to hunker down for winter.
Ladybugs
Ladybugs like to spend winter as large groups in between layers of dry plant material. Some twigs packed together give ladybugs plenty of room to squeeze in together and wait for spring.

Beetles, Spiders, Lacewings, and other friends
Different insects have different nesting needs. By providing a variety of plant materials for our insects friends to lodge in, it will encourage a great variety of insects to move in. Be aware though, that not all good insects will want to take up space in your hotel, such as earwigs, and even try to eat their bug neighbors. While you cannot control what goes on in the bug hotel after you build it, make note that if you provide enough space for the beneficial insects, it will create balance in your garden.

What you will need:
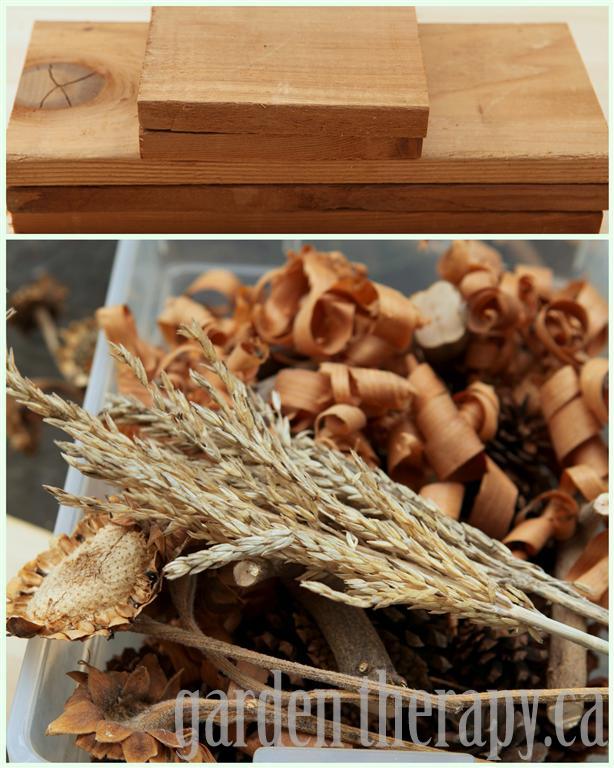
- Cut bamboo pieces, twigs, seed heads, pine cones, wood shavings, and lichen
- ¾” thick cedar or other rot resistant wood
~ top: 5 1/2” (h) x 5 ½” (w)
~ bottom: 5 1/2” (h) x 5 ½” (w)
~ back panel: 12” (h) x 5 1/2” (w)
~ left panel: 12” (h) x 4 ¾” (w)
~ right panel: 12” (h) x 4 ¾” (w)
- Weather resistant screws between 1 ¼” and 1 1/2” long (#6 or #8 size)
- Drill
- Hanging hardware
Directions:
1. Cut Cedar boards to the dimensions listed using a table saw or have them cut at your local hardware store
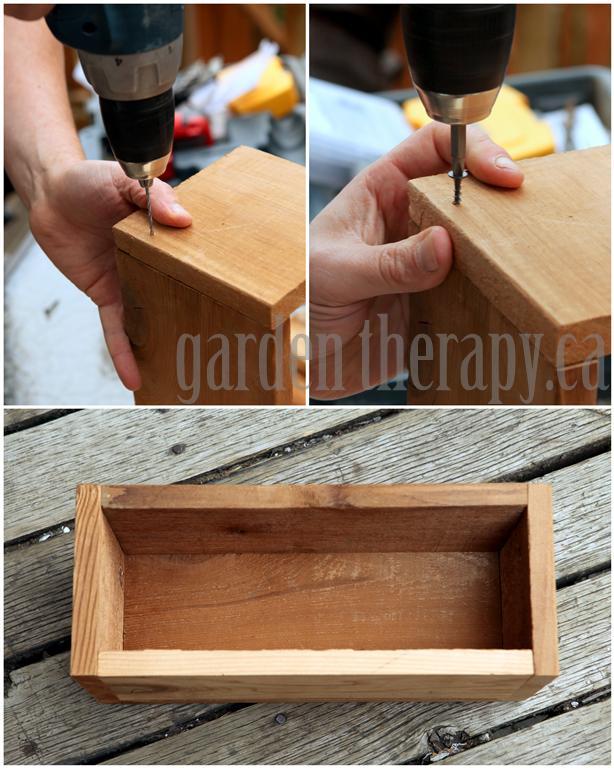
2. Screw the box together by drilling pilot holes through first.
3. Arrange plant materials within the structure, packed tightly so it will stay put, but with lots of available crevices for the bugs.
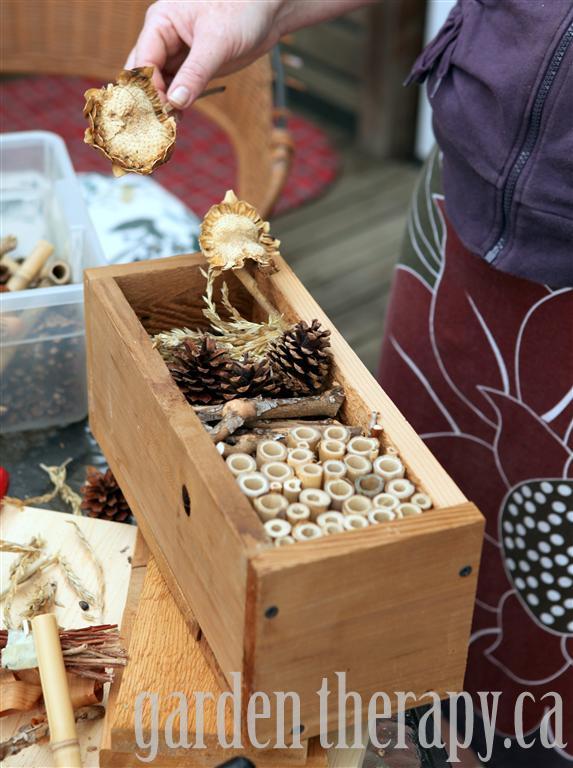
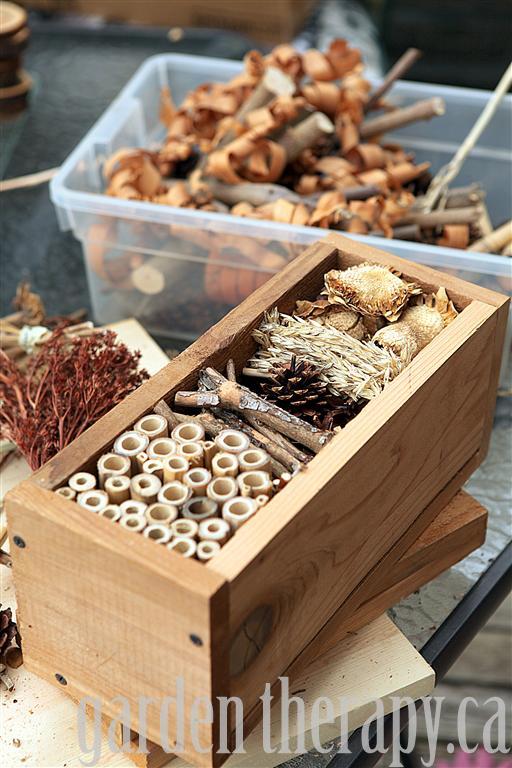
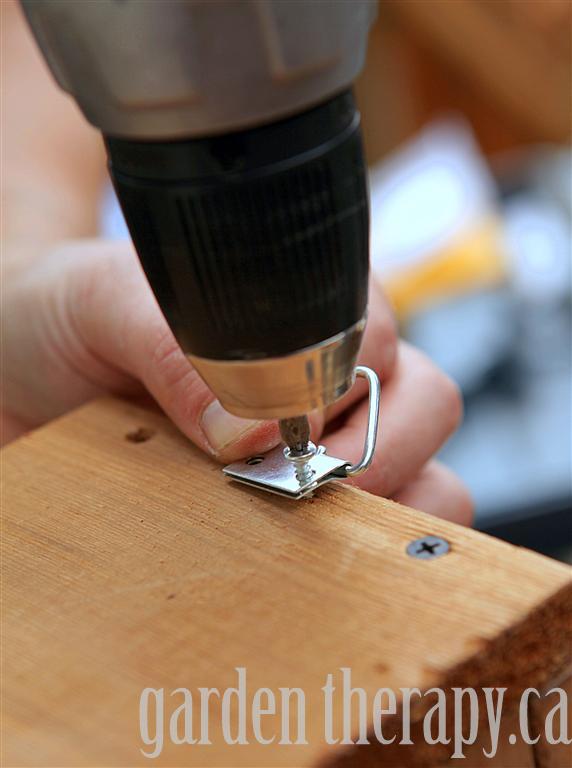
4. Affix hanging hardware and hang it in an area that is close to were you want the bugs next season.
